浅谈CSS3鼠标移入图片动态提示效果(transform)
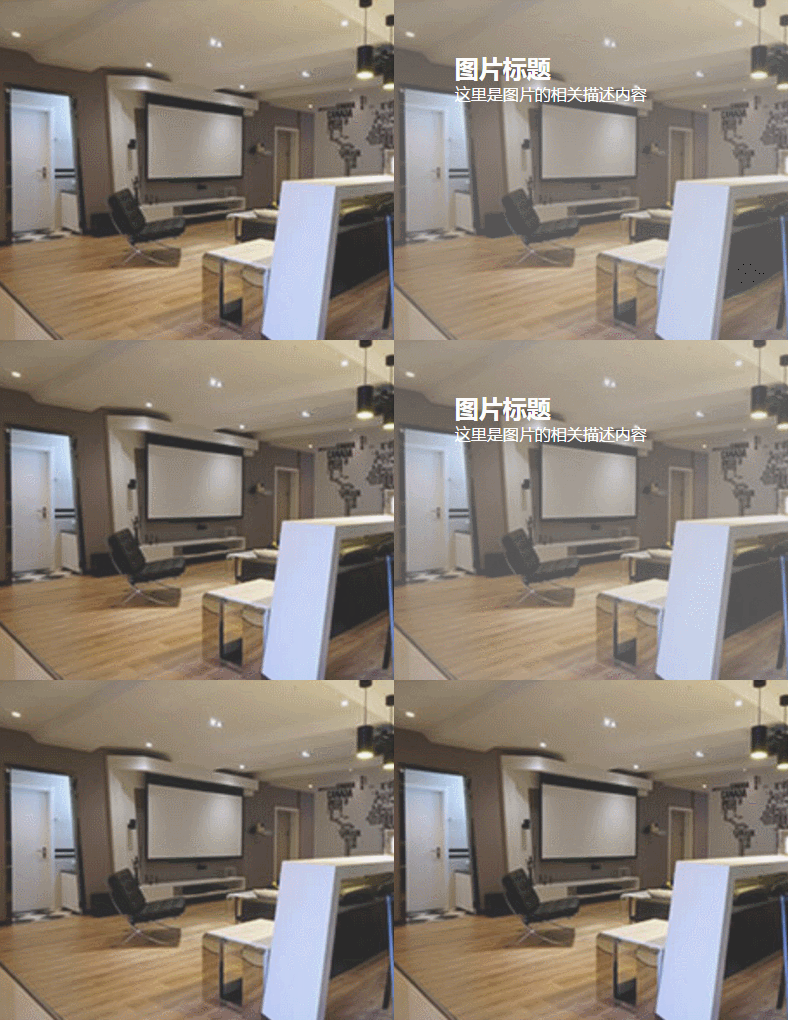
时间:2017-11-15demo03 说明:鼠标移入后 扭曲的字正常显示(因为例子中扭曲了90度 所以视觉上看不到文字)
步骤:
1.写好html代码并通过css设置好内容和图片的初始样式;
2.将文字内容扭曲90度 transform: skew(90deg);
3.接下来设置鼠标移入时(:hover)的样式 将文字内容扭曲0度 transform: skew(0);
/*扭曲*/
.test3{background:#CCCCCC;}
.test3 figcaption{position: absolute;left:15%;top:15%}
.test3 figcaption h2{transform: skew(90deg);}
.test3 figcaption p{transform: skew(90deg);}
.test3:hover img{opacity: 0.6;}
.test3:hover figcaption h2{transform: skew(0);}
.test3:hover figcaption p{transform: skew(0);}
        <!--扭曲-->
        <figure class="test3">
            <img src="img/altimg05.jpg">
            <figcaption>
                <h2>图片标题</h2>
                <p>这里是图片的相关描述内容</p>
            </figcaption>
        </figure>
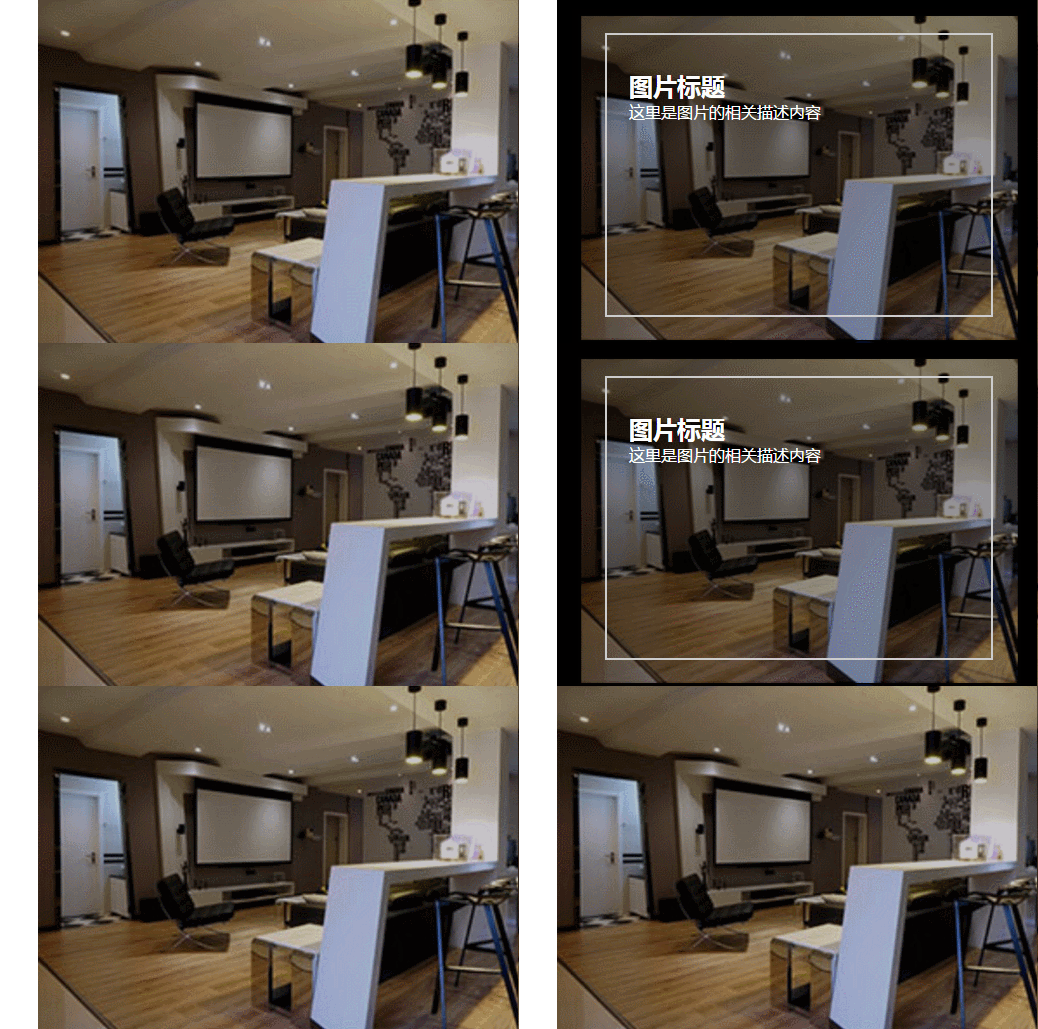
demo04 说明:鼠标移入后 矩形和文字显示并缩小 图片也缩小
步骤:
1.写好html代码并通过css设置好内容和图片的初始样式
2.将内容放大1.2倍 这是为了鼠标移入后放大倍数变成1时形成缩小的效果 内容的透明度设置为0;
3.接下来设置鼠标移入时(:hover)的样式 内容放大倍数变成1也就是原始大小 图片缩小 透明度都变成1;
/*缩放*/
.test4{background: #000;}
.test4 figcaption{width: 100%;height: 100%;}
.test4 figcaption h2{margin:15% 0 0 15%;opacity:0;transform: scale(1.2);}
.test4 figcaption p{margin-left:15%;opacity:0;transform: scale(1.2);}
.test4 figcaption div{border:2px solid #ccc;width: 80%;height: 80%;position:absolute;top:10%;left:10%;transform: scale(1.2,1.2);opacity: 0;}
.test4:hover figcaption div{transform: scale(1,1);opacity: 1;}
.test4:hover img{opacity: 0.6;transform: scale(0.9,0.9);}
.test4:hover figcaption h2{opacity: 1;transform: scale(1);}
.test4:hover figcaption p{opacity: 1;transform: scale(1);}
        <!--缩放-->
        <figure class="test4">
            <img src="img/altimg05.jpg">
            <figcaption>
                <h2>图片标题</h2>
                <p>这里是图片的相关描述内容</p>
                <div></div>
            </figcaption>
        </figure>
demo05 说明:鼠标移入后 内容显示 并出现井字格

步骤:
1.写好html代码并通过css设置好内容和图片的初始样式(井字就是两个矩形的重叠)
2.将两个矩形缩小0.8 并设置透明度为0 内容也设置透明度为0;
3.接下来设置鼠标移入时(:hover)的样式 内容透明度设置为1 设置矩形缩放为1 这里利用到transition属性 主要是为了缩小放大过程逐渐变化;
/*井字格*/
.test5{background: #000;}
.test5 figcaption{width: 100%;height: 100%;}
.test5 figcaption h2{margin: 15% 0 0 18%;opacity: 0;}
.test5 figcaption p{margin-left: 18%;opacity: 0;}
.test5 figcaption div{position: absolute;}
.test5 figcaption div.div01{width: 80%;height:70%;border-top: 2px solid #ccc;border-bottom: 2px solid #ccc;left:10%;top:15%;opacity: 0;transform: scale(0.8);}
.test5 figcaption div.div02{width: 70%;height:80%;border-left: 2px solid #ccc;border-right: 2px solid #ccc;left: 15%;top:10%;opacity: 0;transform: scale(0.8);}
.test5:hover div.div01{opacity: 1;transform: scale(1);transition: transform 0.3s ease-in}
.test5:hover div.div02{opacity: 1;transform: scale(1);transition: transform 0.3s ease-in}
.test5:hover figcaption p{opacity: 1;}
.test5:hover figcaption h2{opacity: 1;}
.test5:hover img{opacity: 0.6;}
        <!--井字格-->
        <figure class="test5">
            <img src="img/altimg05.jpg">
            <figcaption>
                <h2>图片标题</h2>
                <p>这里是图片的相关描述内容</p>
                <div class="div01"></div>
                <div class="div02"></div>
            </figcaption>
        </figure>
以上是几个简单的小例子,之所以用figure和figcaption标签,主要是标签的语义化,截取动态图用到的是GifCam第一次用 挺好用的 很可爱 哈哈。
figure标签主要是用于规定独立的流内容(图片,图表,照片,代码等)而figcaption与figure标签配套使用,主要用于定义figure元素的标题
 无需JS和jQuery代码实现CSS3鼠标浮动放大图片本文给大家分享一段css3代码实现鼠标浮动放大图片效果,代码中无需js和jquery代码,非常不错,具有参考借鉴价值,
 纯CSS3制作的鼠标悬停时边框旋转本文给大家分享一段css3代码实现鼠标悬停时边框旋转的效果,代码简单易懂,非常不错,具有参考借鉴价值,需要的
 纯css实现照片墙3D效果的示例代码这篇文章主要介绍了纯css实现照片墙3D效果的示例代码,可以实现鼠标经过图片实现改变,具有一定的参考价值,感兴趣的小
 纯 Css 绘制扇形的方法示例本篇文章主要介绍了纯 Css 绘制扇形的方法示例,小编觉得挺不错的,现在分享给大家,也给大家做个参考。一起跟随小编过