如何将布局放置在 android 屏幕键盘的正上方?
时间:2023-09-27
本文介绍了如何将布局放置在 android 屏幕键盘的正上方?的处理方法,对大家解决问题具有一定的参考价值,需要的朋友们下面随着小编来一起学习吧!
问题描述
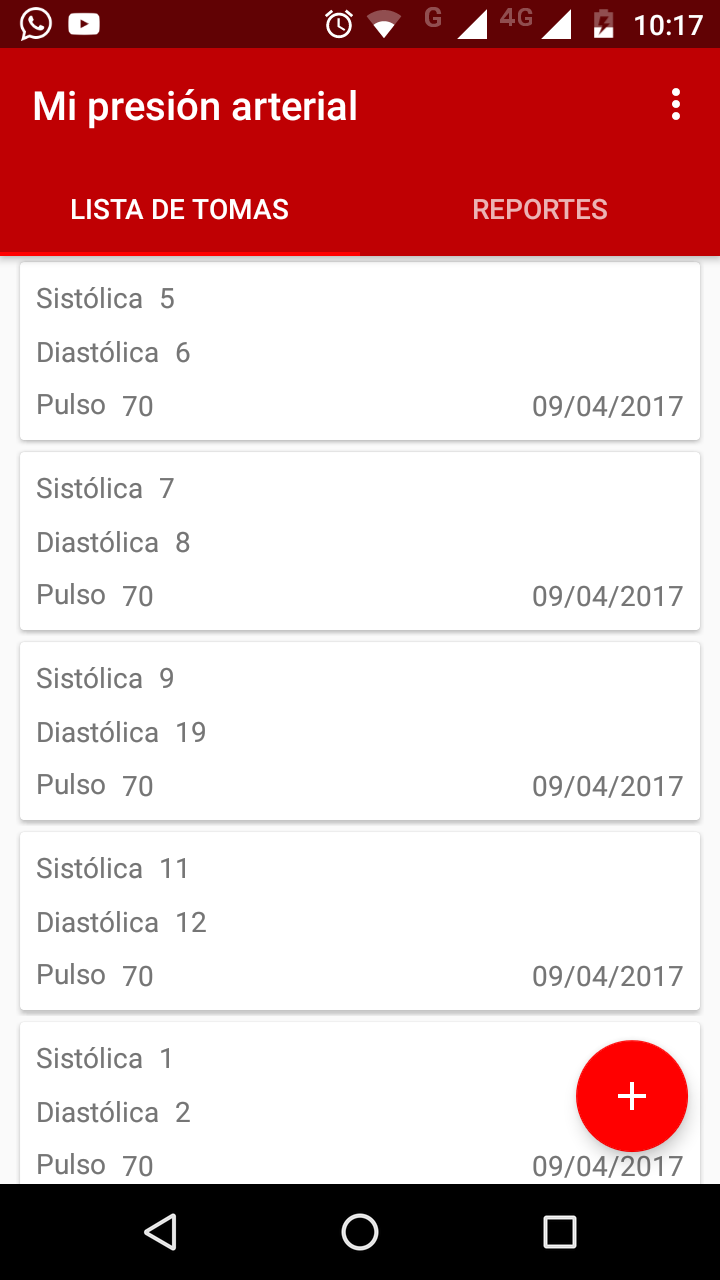
见附图.推特做得很好.他们有一个布局,由于没有更好的术语,我将其称为工具栏,就在屏幕键盘的正上方.如何使用我的代码执行此操作?
See the attached photo. Twitter does it well. They have a layout, which I will call a toolbar for lack of a better term, right above the onscreen keyboard. How can I do this with my code?
更新:这是我的布局:
<?xml version="1.0" encoding="utf-8"?>
<LinearLayout xmlns:android="http://schemas.android.com/apk/res/android"
    android:orientation="vertical"
    android:layout_width="fill_parent"
    android:layout_height="fill_parent"
    android:background="#ffffff">
    <RelativeLayout android:id="@+id/actionbarRelativeLayout" android:layout_width="fill_parent" android:layout_height="wrap_content" android:background="@drawable/actionbar_gradient">
        <ImageButton android:id="@+id/imageButton" android:layout_width="wrap_content" android:background="@drawable/stocktwits" android:layout_height="wrap_content"></ImageButton>
        <TextView android:layout_width="wrap_content" android:id="@+id/charCountTextView" android:text="140" android:layout_alignParentRight="true" android:layout_height="wrap_content" android:textColor="#ffffff" android:textStyle="bold" android:textSize="18sp" android:gravity="center_vertical" android:layout_centerVertical="true"></TextView>
    </RelativeLayout>
    <EditText android:layout_width="match_parent" android:id="@+id/composeEditText" android:focusable="true" android:hint="Share an idea with the community" android:gravity="left|top" android:layout_height="fill_parent" android:layout_weight="1"></EditText>
    <LinearLayout android:layout_width="match_parent" android:id="@+id/border" android:background="#c4c4c4" android:baselineAligned="false" android:layout_height="1dp"></LinearLayout>
    <LinearLayout android:layout_height="wrap_content" android:id="@+id/toolbarLinearLayout" android:orientation="horizontal" android:padding="5dip" android:layout_width="fill_parent" android:background="@drawable/gray_toolbar_gradient">
        <Button android:layout_width="wrap_content" android:layout_height="wrap_content" android:id="@+id/shortenButton" android:background="@drawable/shortenbutton" android:layout_weight="0"></Button>
        <LinearLayout android:layout_height="match_parent" android:layout_width="wrap_content" android:id="@+id/linearLayout1" android:layout_weight="1"></LinearLayout>
        <CheckBox android:layout_width="wrap_content" android:layout_height="wrap_content" android:id="@+id/twitterCheckBox" android:textColor="#000000" android:layout_weight="0" android:background="@drawable/twittergraybutton"></CheckBox>
        <Button android:layout_height="wrap_content" android:layout_weight="0" android:id="@+id/sendButton" android:layout_width="wrap_content" android:background="@drawable/sharebutton"></Button>
    </LinearLayout>

</LinearLayout>
这是我的清单,我在其中指定了 softInputMode:
<activity android:name="ShareActivity"
              android:theme="@android:style/Theme.NoTitleBar"
              android:windowSoftInputMode="adjustResize">
    </activity>
推荐答案
确保你的 软输入模式设置为adjustResize,然后将带有工具栏的布局放在Activity的底部.
Make sure your soft input mode is set to adjustResize, then place the layout with your toolbar at the bottom of your activity.
例子:
<LinearLayout android:orientation="vertical"
        android:layout_width="match_parent"
        android:layout_height="match_parent">
    <FrameLayout android:id="@+id/my_content"
            android:layout_width="match_parent"
            android:layout_height="0dip"
            android:layout_weight="1">
        <!-- Your content here -->
    </FrameLayout>
    <LinearLayout android:id="@+id/my_toolbar"
            android:layout_width="match_parent"
            android:layout_height="wrap_content">
        <!-- Your toolbar items here -->
    </LinearLayout>
</LinearLayout>
这篇关于如何将布局放置在 android 屏幕键盘的正上方?的文章就介绍到这了,希望我们推荐的答案对大家有所帮助,也希望大家多多支持html5模板网!
相关文章
 如何检测 32 位 int 上的整数溢出?How can I detect integer overflow on 32 bits int?(如何检测 32 位 int 上的整数溢出?)
- return 语句之前的局部变量,这有关系吗?Local variables before return statements, does it matter?(return 语句之前的局部变量,这有关系吗?)
- 如何将整数转换为整数?How to convert Integer to int?(如何将整数转换为整数?)
- 如何在给定范围内创建一个随机打乱数字的 intHow do I create an int array with randomly shuffled numbers in a given range(如何在给定范围内创建一个随机打乱数字的 int 数组)
- java的行为不一致==Inconsistent behavior on java#39;s ==(java的行为不一致==)
- 为什么 Java 能够将 0xff000000 存储为 int?Why is Java able to store 0xff000000 as an int?(为什么 Java 能够将 0xff000000 存储为 int?)
 如何使用 SimpleDateFormat.parse() 将 Calendar.toString()How can I Convert Calendar.toString() into date using SimpleDateFormat.parse()?(如何使用 SimpleDateFormat.parse() 将 Calendar.toString() 转换为日期?)